
Choose your viewer type
Set your role once and we will tailor the guidance across SIP University.
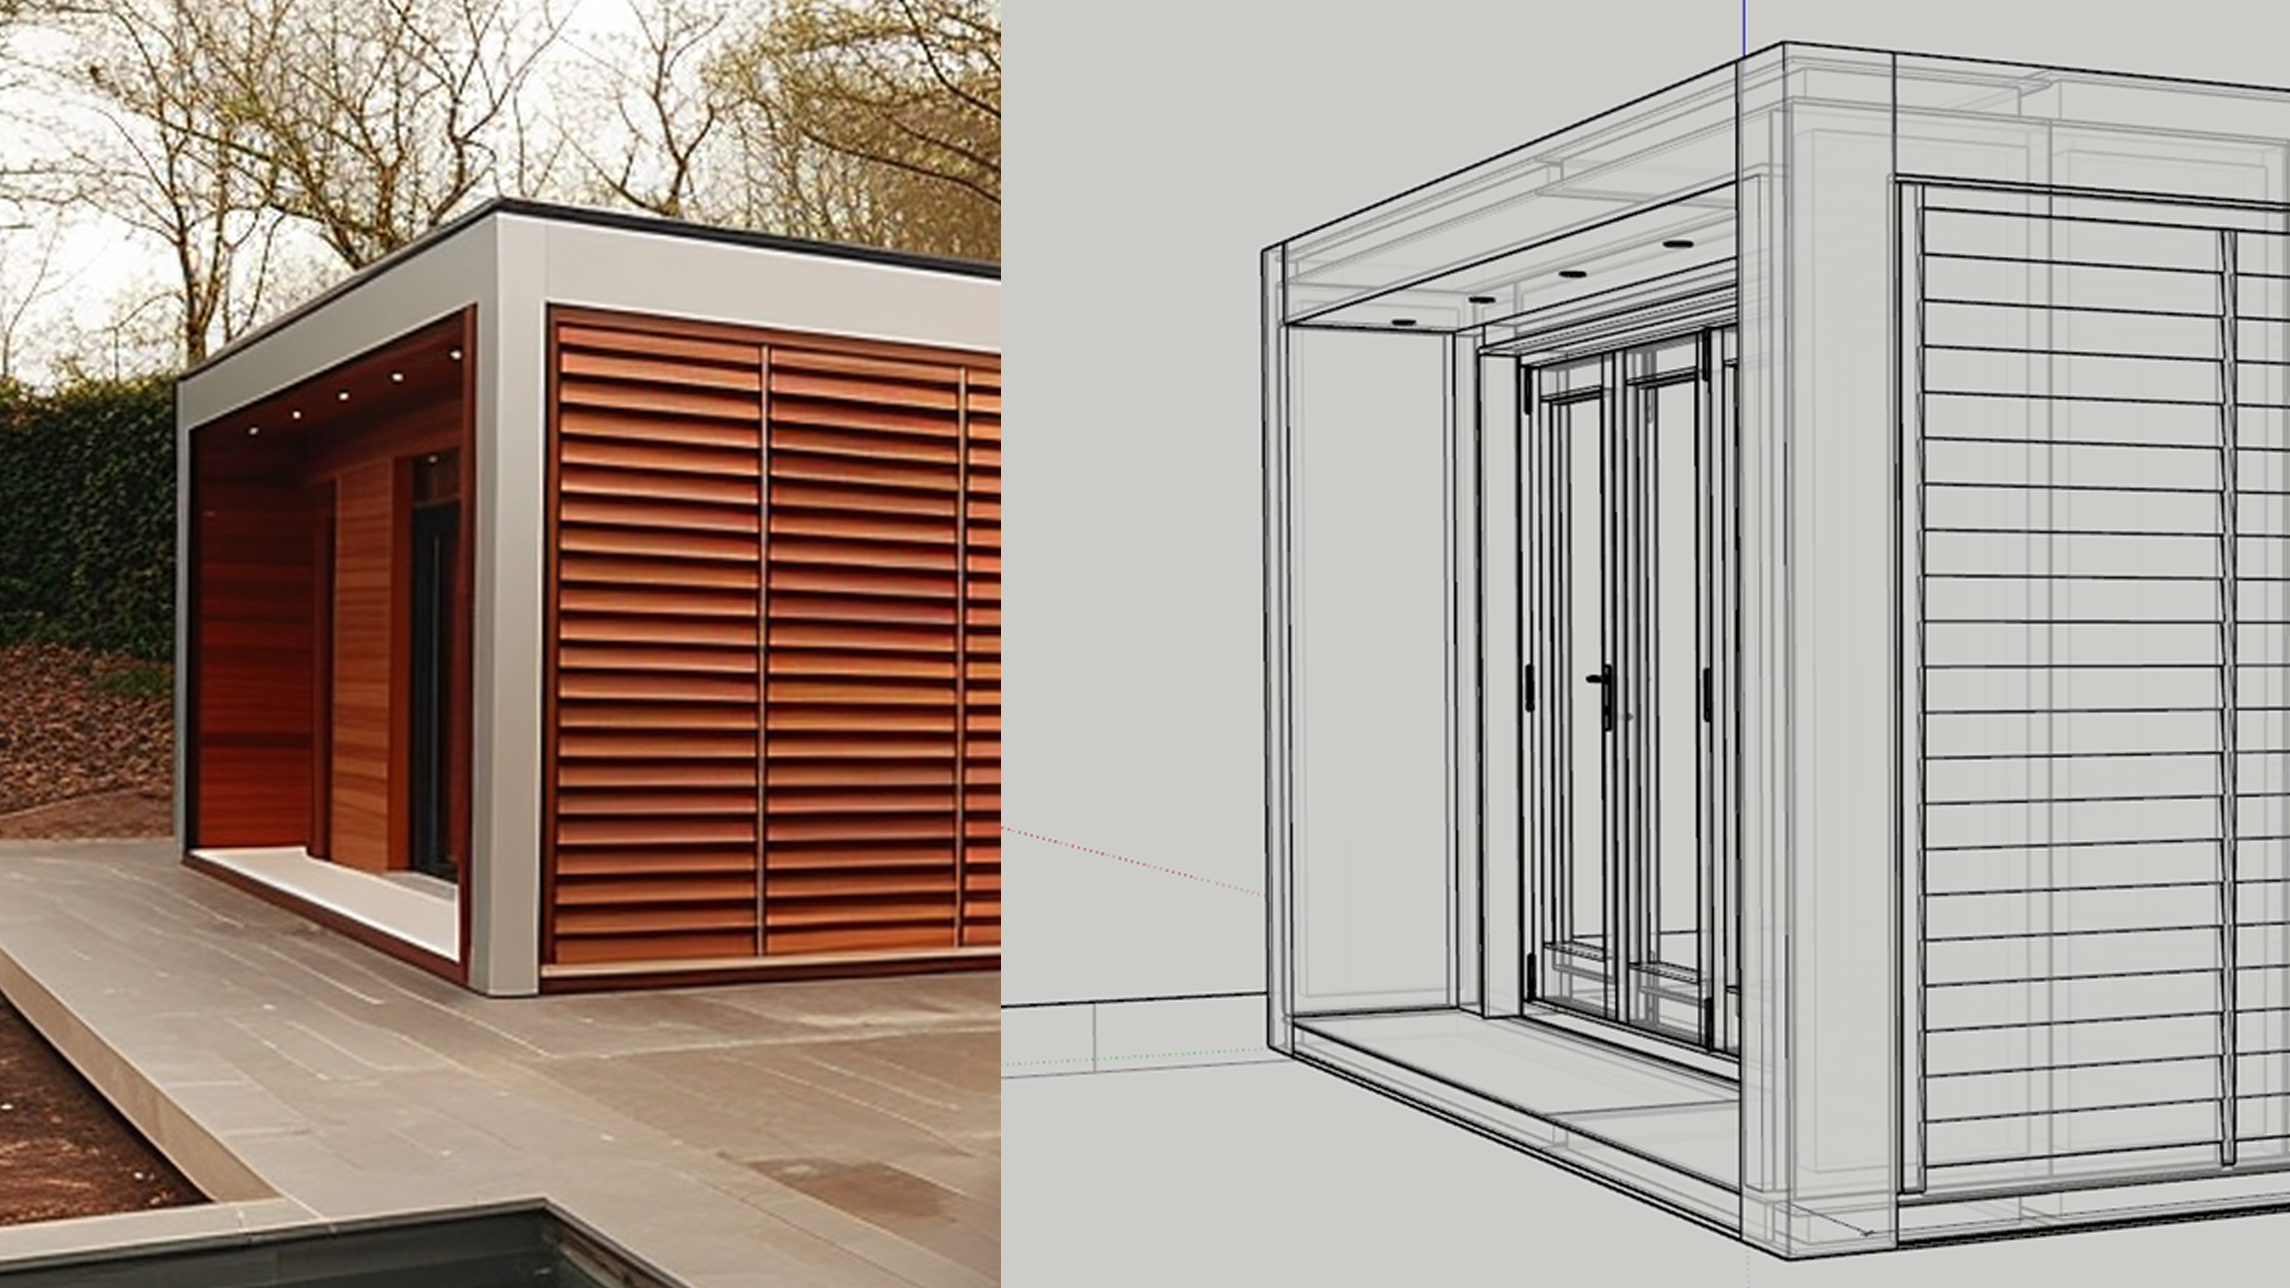
Design that saves days
Design works best when the layout follows a clear grid and load paths are mapped early. Off-grid bays and awkward openings multiply cuts and grow the pack. Snap to a 1200mm rhythm and the kit tightens up. UltraSIPS can sanity-check the grid early so you avoid rework.
Design decisions lock the kit, so early clarity protects cost, lead time, and site workflow.
Start with the grid
Think in panels, not studs. SIPs work best when you align wall lengths and roof spans to standard panel widths. That means fewer cuts, cleaner joints, and faster installation.
Load design charts: pick the right table
Load design charts keep you honest. In the UK, wind exposure, snow load, and roof pitch all change what a panel can do. Use the charts for strength and deflection, and confirm which combinations are acceptable for walls, floors, and roofs.
Comparison
Load design charts compared
Different charts answer different questions. Use the right one at the right moment.
Wall axial load charts
Gravity loads
- Check how much roof and floor load a wall panel can carry
- Identify when posts or splines are required
- Confirm bearing at openings
Roof span charts
Pitch, snow, wind
- Span varies with pitch and loading
- Confirm deflection limits for ceilings and finishes
- Use UK wind and snow values
Floor span charts
Live load driven
- Use residential and storage load cases
- Confirm vibration and deflection limits
- Check bearing length requirements
Deflection checks
Serviceability
- Strength is not enough if deflection is high
- Choose thickness that keeps finishes intact
- Check both short and long term movement
Spline connections: choose the right joint
Splines connect panels and carry load across joints. The right spline balances structure, thermal performance, and speed of install.

Comparison
Spline connection types
Match the spline to the load and the build speed you need.
OSB or plywood spline
Standard wall joints
- Cost effective and widely used
- Good for typical wall loads
- Moderate thermal bridge
OSB block spline
Higher bearing
- Adds more bearing area
- Useful at openings and higher loads
- Slightly more labour to fit
Lumber or EWP spline
High capacity
- Handles higher point loads
- Straightforward site fastening
- Thermal bridge is larger
I-joist spline
Tall walls
- Strong and stable for tall panels
- Good alignment for long runs
- Requires precise routing
Cam lock connection
Fast assembly
- Factory precision speeds install
- Ideal for repeatable modules
- Needs CNC and exact panel prep

Panel-friendly architecture
SIPs love simple geometry. The more you align the form to panel sizes, the less waste and on-site modification you face.
Comparison
Panel-friendly forms compared
Simple forms cut weeks. Complex geometry needs more engineering and more time.
Simple rectangles and clean offsets
- Fastest to panelize and install
- Minimal waste and fewer splines
- Best for cost and programme
Gable roofs and single pitches
- Panels land on predictable bearing lines
- Simple ridge and eaves details
- Less need for secondary structure
Dormers and valleys
- Extra joints and custom details
- More engineering and more cutting
- Plan early to avoid delays
Cantilevers and complex offsets
- Higher engineering input
- More splines or steel support
- Transport and install complexity
Floor SIPs vs joists
Floor SIPs can speed the shell, but they are not always the best answer. Decide based on span, loads, and service routes.
Comparison
Floor systems compared
Choose the system that best fits the span and service plan.
SIP floor panels
- Fast enclosure with insulation built in
- Good for clear spans and airtightness
- Plan services early
I-joist or timber floors
- Easy routing for services
- Lower panel cost in some builds
- More time on site for insulation
Hybrid floor approach
- SIP floor where speed matters
- Joists where services dominate
- Balanced cost and programme
Architect or designer?
Different roles own different decisions. You need a clean handoff so the SIP design does not drift from the architectural intent.
Comparison
Who owns which decision
Clarity up front prevents late-stage redraws.
Architect
- Overall form, planning, and layout intent
- Window and door positioning
- Client-facing decisions
SIP designer
- Panel grid, splines, and joints
- Shop drawings and panel schedules
- Assembly logic and install sequence
Structural engineer
- Loads, point loads, and lateral forces
- Beam sizing and key connections
- Compliance with UK standards
Builder or site lead
- Practical access and lifting plan
- Sequencing and storage plan
- Feedback for buildable details
Design considerations that move the kit
The details below change the cut list and the cost. Bring them forward, not after the panels are drawn.
Comparison
Design considerations that change the kit
Small layout choices can make big changes to price and lead time.
Span and loading
- Longer spans mean thicker panels
- Higher loads need stronger splines
- Roof pitch and snow matter
Openings and headers
- Openings off-grid create extra trimming
- Headers can require posts or beams
- Plan glazing sizes early
Services and chases
- Large services need routing space
- Plan penetrations before manufacture
- Avoid cutting key load paths
Transport and access
- Panel size affects delivery and crane plan
- Tight sites may require smaller panels
- Confirm staging space
SIP CAD outputs
The right drawings keep everyone aligned: architect, factory, and site.
Comparison
Design outputs compared
Each output answers a different question.
Architectural CAD model
- Defines overall form and layout
- Sets window and door intent
- Not a manufacturing model
SIP shop drawings
- Panel sizes, splines, labels
- Exact cut paths for CNC
- Factory and QC reference
Installation layouts
- Panel numbering and sequence
- Crane picks and staging
- Site build checklist
Engineering schedules
- Loads, spans, and fixings
- Beam and post callouts
- Compliance notes
SIP designer decisions
SIP designers make a series of linked calls that drive cost, performance, and install speed.
Comparison
Key SIP designer decisions
These choices determine how the kit behaves on site.
Panel thickness
- Driven by span and U-value
- Thicker panels add cost and weight
- Balance performance and handling
Spline type
- Structural demand sets the spline
- Thermal bridges need attention
- Keep splines consistent where possible
Joint placement
- Align joints to load paths
- Avoid joints at critical openings
- Reduce site cutting
Opening strategy
- Stay on the grid where possible
- Confirm lintels and posts
- Coordinate glazing early
Connection details
- Wall-to-floor alignment
- Corners and internal walls
- Roof bearing details
Manufacturing constraints
- CNC limits and transport sizes
- Tolerances and labeling
- Lead time implications
Wall-to-floor connection
The wall-to-floor detail carries load and sets airtightness. Choose the detail that fits the build.
Comparison
Wall-to-floor connection options
Pick the detail that matches loads and install sequence.
Bottom bearing on sole plate
- Simple and common detail
- Good for slab or floor deck
- Easy to line and seal
Panelized floor with spline
- Fast enclosure with fewer trades
- Good airtightness continuity
- Requires careful service planning
Ledger or hanger
- Useful when aligning with existing structures
- Allows floor to hang off SIP walls
- Check deflection at hangers
Insulated rim SIP
Rim details are common leakage points. Choose a detail that keeps insulation continuous.
Comparison
Rim strategies compared
Keep thermal continuity at the floor edge.
Standard rim board
- Simple and familiar
- Needs extra insulation
- Higher thermal bridge risk
Insulated rim SIP
- Continuous insulation at perimeter
- Improves airtightness
- Requires accurate detailing
Thermal break rim
- Good for retrofit conditions
- Reduces cold bridging
- Detailing must be precise
Wall corner connections
Corners are load paths and airtightness zones. Pick the detail that fits the structure.
Comparison
Corner connection options
Corners must carry load and resist racking.
Two-panel spline corner
- Standard SIP corner detail
- Simple to fabricate and seal
- Works for most wall heights
Post corner
- Handles higher loads
- Good when openings are close to corners
- Adds a thermal bridge
Insulated corner panel
- Reduces thermal bridging
- More complex to fabricate
- Needs careful sequencing
Interior wall connection
Interior partitions can be structural or non-structural. The detail changes the kit.
Comparison
Interior wall connection options
Match the detail to the load.
Non-loadbearing spline
- Lightweight partition
- Simpler sealing
- Keep it away from major load paths
Loadbearing post or spline
- Transfers vertical loads
- Common under ridge or beam lines
- Check bearing and fixing detail
Service partition
- Creates a space for services
- Protects the panel envelope
- Can improve airtightness
Hanging floor detail
Hanging floors save height but need clear load transfer.
Comparison
Hanging floor approaches
Choose the detail that keeps deflection under control.
Ledger and hangers
- Compact floor detail
- Common in extensions
- Check fixing schedules
Dropped beam support
- Higher capacity for longer spans
- Clearer load path
- Adds depth below
Cantilever with reinforcement
- Useful for overhangs
- Requires engineered detail
- Watch deflection and uplift
Bevel cut top of wall
Pitched roofs need the right bearing detail to keep panels square and sealed.
Comparison
Top-of-wall detailing
Match the detail to the roof pitch.
Bevel cut wall top
- Direct bearing for roof panels
- Clean and efficient detail
- Needs precise cutting
Flat top with sleeper
- Adds flexibility for roof layout
- More tolerance on site
- Extra timber and fixings
Truss seat with bearer
- Good for hybrid roof systems
- Keeps load transfer clear
- Requires coordination with truss design
Point loads
Point loads are where panels can be overstressed. Spread the load and define the path.
Comparison
Point load strategies
Spread the load and protect the panel faces.
Bearing post
- Direct load transfer
- Best for heavy beams
- Needs accurate alignment
Load spreader plate
- Distributes load across skins
- Useful for smaller point loads
- Requires detailing in drawings
Steel beam pocket
- Saves headroom
- Needs engineered reinforcement
- Avoids crushing the core
Load transfer: two strategies
Load transfer can go through continuous wall lines or be handed off to beams. Decide early.
Comparison
Load transfer strategies compared
Choose the strategy that keeps the structure simple.
Continuous load path
- Loads drop straight to the foundation
- Simpler detailing
- Often the most cost effective
Transfer to beams
- Useful for open plans
- More engineering and coordination
- Watch deflection and bearing points
Lateral forces on walls (wind)
Wind and racking loads dictate splines, hold-downs, and nail schedules.
Comparison
Lateral load strategies
Keep racking resistance continuous through the structure.
Shear wall nailing
- Standard SIP racking resistance
- Requires correct nailing schedules
- Check corners and openings
Hold-downs and straps
- Resist uplift and overturning
- Critical in high wind exposure
- Coordinate with foundation bolts
Diaphragm tie
- Roof and floor panels act together
- Needs continuity at joints
- Check fixings and spline type
Tall walls
Tall walls need extra attention to stability and deflection.
Comparison
Tall wall options
Choose the build method that keeps walls straight.
Single tall panel
- Fewer joints
- Fast install
- Requires careful handling
Stacked panels
- Easier lifting and handling
- More joints to seal
- Good when access is tight
Platform break
- Uses intermediate floor as brace
- Simplifies logistics
- More detail coordination
Doghouse dormers
Dormers are the definition of custom. Decide whether they are panelized or framed.
Comparison
Dormer approaches
Keep dormer geometry simple whenever possible.
Panelized dormer
- Fast install with fewer trades
- Good for repeatable forms
- Requires clear detailing
Stick-built dormer
- Flexible on site
- Slower and more labour
- Often used for one-off shapes
Hybrid approach
- Panelize main roof
- Frame the complex dormer bits
- Balanced programme
Ridge or purlin beam material choices
Beam choice affects weight, cost, and lead time.
Comparison
Beam materials compared
The beam dictates how the roof panels bear.
Glulam
- Strong and visually warm
- Common in UK roof designs
- Lead time depends on supplier
LVL
- Consistent and strong
- Often cost effective
- Requires protection and lining
Steel
- Highest capacity for tight spans
- Slim profile saves headroom
- Needs careful thermal breaks
Ridge details
Ridge details affect air sealing and structure.
Comparison
Ridge detail options
Pick the detail that matches structural intent.
Structural ridge beam
- Clear load path
- Simple roof panel bearing
- Requires beam coordination
Ridge spline
- Panel-to-panel connection
- Works on lighter roofs
- Check uplift and deflection
Cap plate ridge
- Simplifies finishing
- Useful for low pitch roofs
- Needs robust sealing
Roof details
Roof panels can be vented or unvented depending on climate and build-up.
Comparison
Roof build-up strategies
Choose the build-up that matches UK moisture and energy goals.
Cold roof (vented)
- Ventilation path above insulation
- Traditional roofing approach
- Requires clean vent paths
Warm roof (unvented)
- Continuous insulation at roof line
- Simpler airtightness detail
- Requires moisture control
Hybrid roof
- Service void plus insulated panels
- Good for MVHR routing
- More layers to coordinate
Internal valley beams
Valleys need clear drainage and solid structure.
Comparison
Valley structure options
Prevent leaks by keeping structure and flashing clear.
Valley beam
- Simple load path
- Good for clear interior lines
- Needs clean flashing detail
Valley truss
- Lightweight roof framing
- More movement to consider
- Often slower to install
Panelized valley
- Fast install when geometry is simple
- Requires careful detailing
- Limited by panel sizes
Roof penetrations
Penetrations are leak risks. The best solution is to design them into the panel pack.
Comparison
Penetration strategies
Factory planning is safer than cutting on site.
Factory cut and reinforced
- Cleanest and most precise
- Keeps airtightness detail intact
- Preferred for MVHR and flues
Site cut with framing
- Flexible for late changes
- Higher risk of air leaks
- Needs careful reinforcement
Curb assembly
- Useful for large rooflights
- Allows flashing control
- Adds height and complexity
Extreme engineering
Some designs are beyond a standard kit. Know when to involve structural engineering early.
Comparison
When to call for engineering
Complex geometry and loads need specialist input.
Standard SIP kit
- Simple spans and rooflines
- Straightforward openings
- Fastest approval path
Long spans or cantilevers
- Requires bespoke beams
- Higher deflection risk
- Engineering input essential
Multi-storey or heavy loads
- Load paths become complex
- More hold-downs and posts
- Coordination with structural engineer
Standard detail pack (reference)
Need the full UltraSIPS standard detail drawings? View the reference pack here: UltraSIPS Standard Details.
Design checklist
- Align walls to standard panel widths.
- Mark openings early and keep them on-grid.
- Choose splines based on load, not habit.
- Validate spans and deflection with manufacturer tables.
- Confirm roof details, penetrations, and beam choices before manufacturing.