
Choose your viewer type
Set your role once and we will tailor the guidance across SIP University.
Warm, dry rooms
SIPs solve most heat loss on day one, but only if air and moisture are controlled at the joints and ventilation is planned for the UK climate. UltraSIPS focuses on airtight seams, junction details, and ventilation strategy so rooms stay warm and dry.
Most performance issues come from air and moisture control, not panel choice, so this protects long-term results.
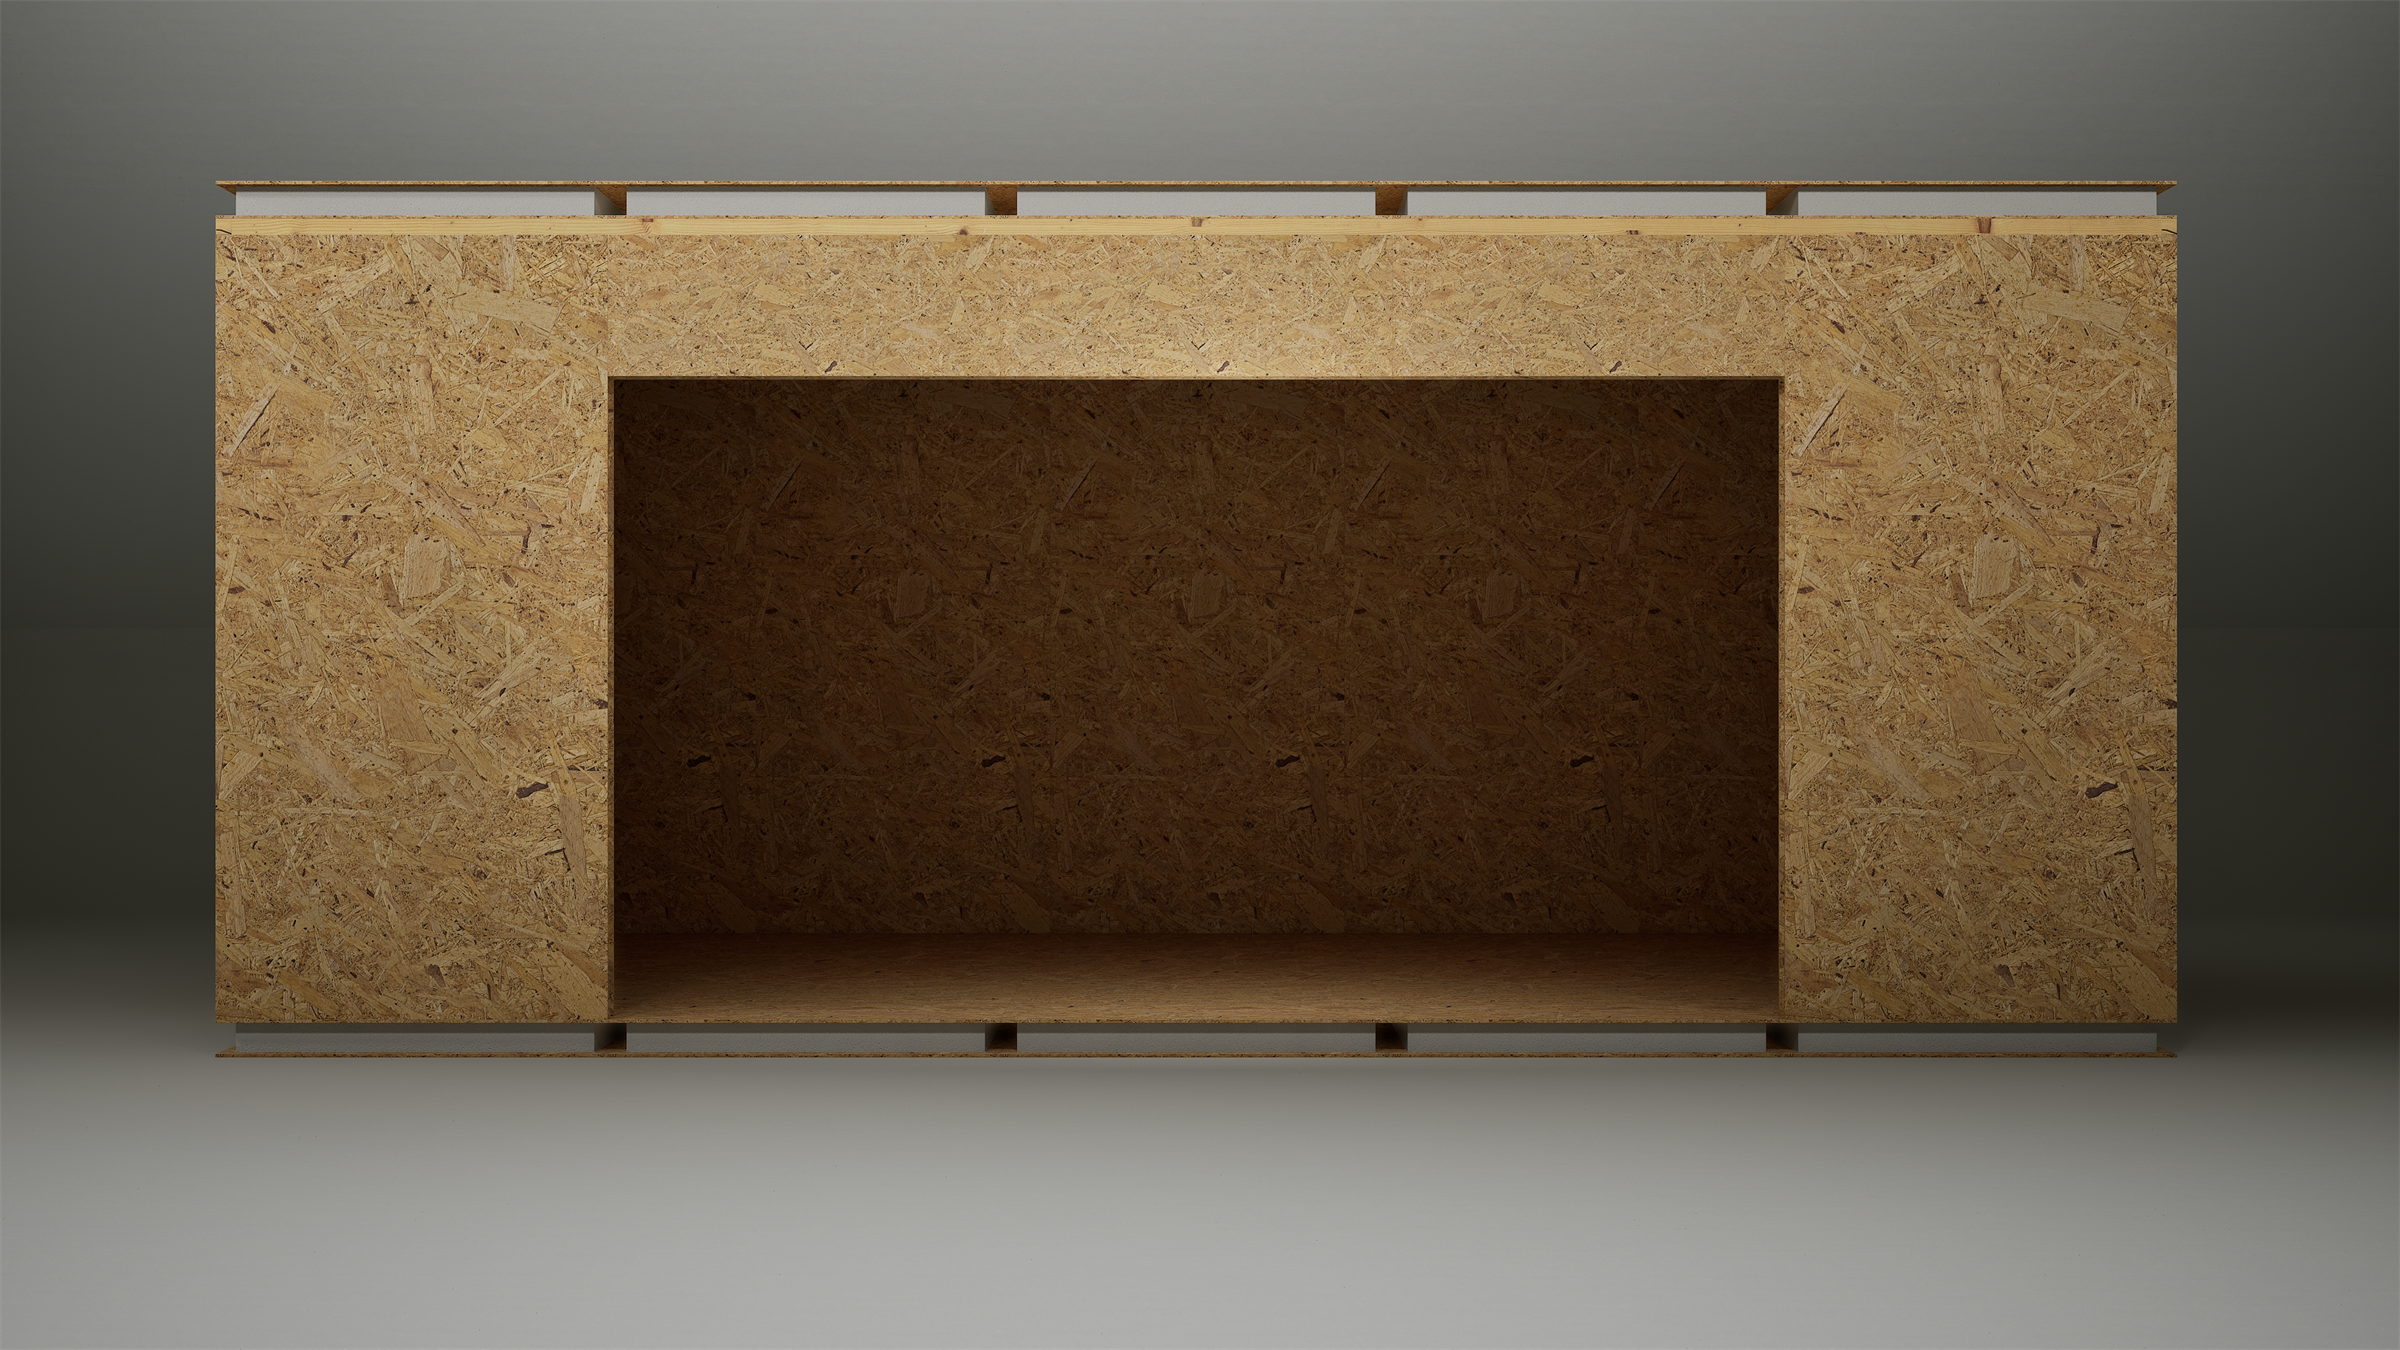
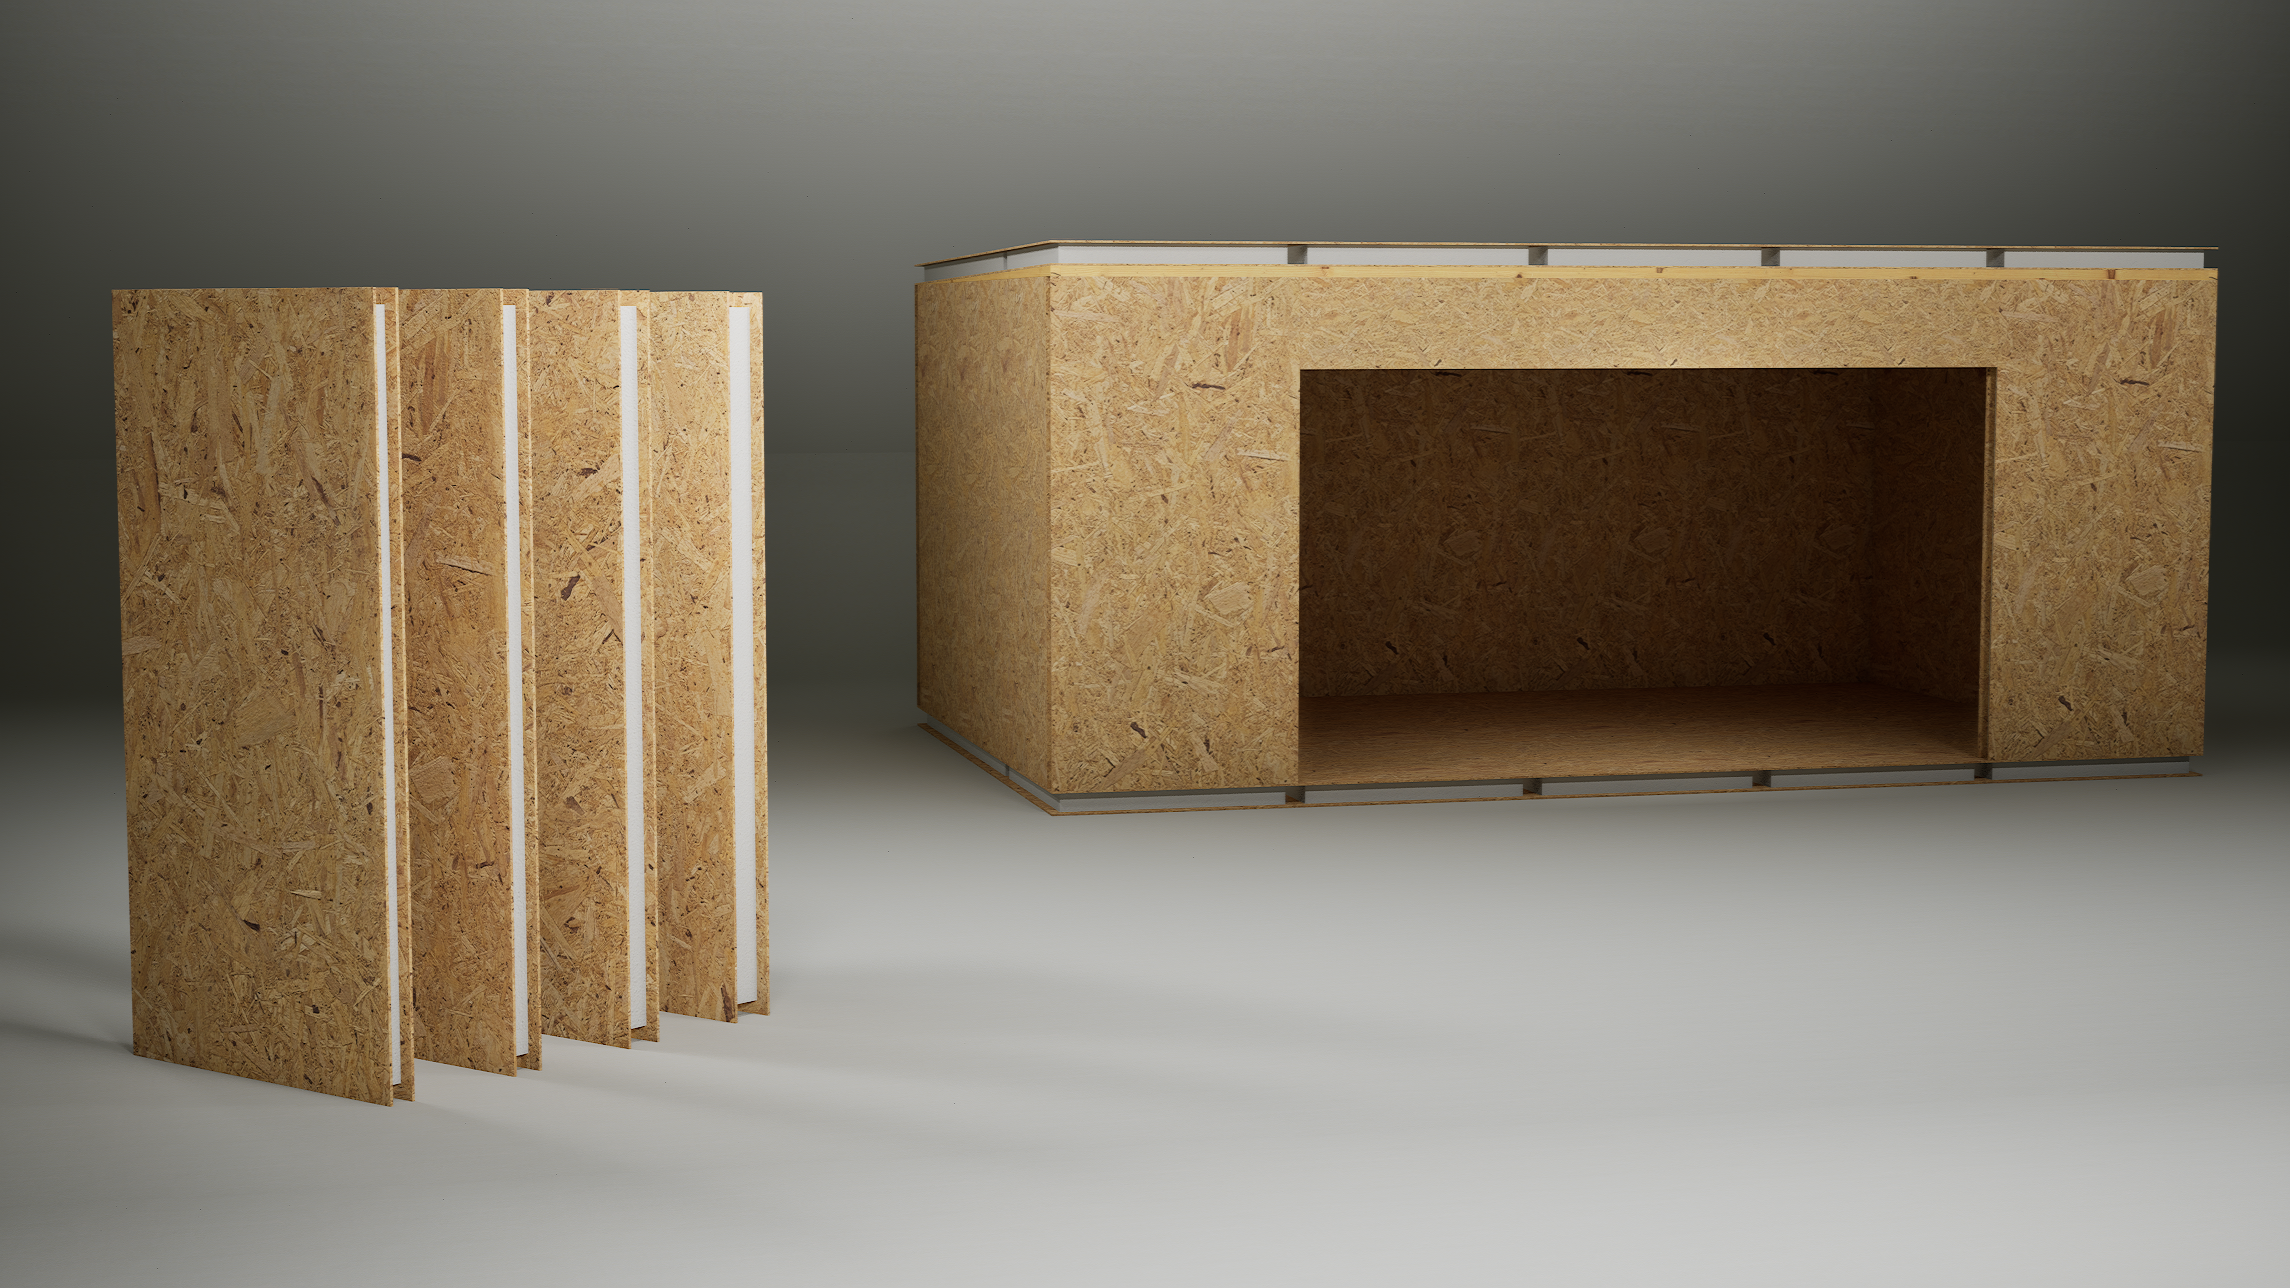
Building science in a SIP build
SIPs combine structure and insulation, so building science is not a separate layer you add later. It is baked into the panel, the joints, and the way the shell is closed. The decisions you make here determine long-term comfort, durability, and energy use.
The three forces at work
Heat, air, and moisture move together. If you control one but ignore the others, you still get problems.
Comparison
Heat, air, and moisture
Treat these as a single system, not separate tasks.
Heat
Comfort and energy
- Continuous insulation keeps internal surfaces warm
- Thermal bridges create cold spots and condensation risk
- Panel thickness and core choice (PIR, EPS, PU) set the baseline
Air
Leakage and pressure
- SIPs are naturally airtight
- Unsealed joints become moisture highways
- Ventilation replaces uncontrolled leakage
Moisture
Drying and durability
- Bulk water is the biggest risk
- Vapour diffusion is slower but constant
- Air movement carries the most moisture
Parameters worth checking early
- U-values and thermal bridge (Psi) values for junctions.
- Airtightness target (air permeability at 50 Pa).
- Surface temperature factors to avoid cold corners.
- Ventilation rates and strategy (MVHR, MEV, or passive).
- Moisture risk and dew point position in the build-up.
Heat transfer modes
Even a well-insulated panel can lose heat at the wrong junction. Know the modes and design the details.
Comparison
Heat transfer in practice
Each mode needs a different response.
Conduction
Through materials
- Main path for heat loss
- Reduced by continuous insulation
- Worse at splines and edges
Convection
Air moving heat
- Caused by leaks and cavities
- Stopped by airtight layers
- Can create cold streaks
Radiation
Surface-to-surface
- Relevant in roof build-ups
- Managed by reflective layers and cavities
- Less important than conduction in walls
Thermal bridges vs thermal voids
SIPs reduce thermal bridging, but details can reintroduce it.
Comparison
Bridges and voids
Two different problems with two different fixes.
Thermal bridges
- Created by solid timber or steel paths
- Show up at corners, splines, and ring beams
- Fix with insulated detailing and continuity
Thermal voids
- Gaps in insulation or crushed core
- Often caused by poor fitting or cut-outs
- Fix with accurate cutting and infill
Moisture movement: the real risks
Most moisture problems are not about vapour diffusion. They come from bulk water and air leakage.
Comparison
Moisture movement pathways
Ranked from highest to lowest risk.
Bulk water
Highest risk
- Leaks at roofs, sills, and penetrations
- Fast damage if not drained
- Solve with flashing and drainage planes
Air-transported moisture
High risk
- Warm air carries huge moisture loads
- Small leaks can cause big damage
- Solve with airtight layers and taped joints
Capillary action
Medium risk
- Water wicks through porous materials
- Avoid direct contact with wet masonry
- Use DPCs and capillary breaks
Vapour diffusion
Lower risk
- Slow movement through materials
- Managed with vapour control layers
- Needs proper drying paths
Air movement drivers
Air moves because of pressure differences. The tighter the building, the more you must plan airflow.
Comparison
Air movement drivers
Know what pushes air through a shell.
Wind
- Creates pressure on windward walls
- Can drive water into joints
- Needs robust external seals
Stack effect
- Warm air rises and escapes at high points
- Pulls cold air in at low points
- Critical for tall walls and roofs
Mechanical systems
- Fans and extract create pressure zones
- Needs planned supply and extract routes
- Pairs well with MVHR in SIP builds
Control layers: what does what
Good buildings separate the control layers and keep them continuous.
Comparison
Control layers in a SIP build
Keep each layer continuous and intentional.
Water control
- Cladding, flashings, and drainage plane
- Keep bulk water out and drained
- Protect edges and openings
Air control
- Taped joints and sealed penetrations
- Prevents heat loss and moisture transport
- Must connect across junctions
Vapour control
- Controls diffusion through layers
- Placed to suit UK climate
- Avoid trapping moisture
Thermal control
- Panel core and insulation continuity
- Minimise bridging at splines and ring beams
- Keep interior surfaces warm
Junctions that matter most
Corners, wall-to-roof, wall-to-floor, and openings are where performance is won or lost.
Butt joints and splines
A butt joint can be reliable, but only when the sealing sequence is followed. Splines add structure and alignment, but they also add thermal bridging if left untreated. Detail the joint type, sealant, and fixings before the panels arrive.
Crawl spaces and ground moisture
Cold, damp subfloors can drive moisture into a SIP shell. If you are building over a crawl space, plan ground ventilation, vapour control, and insulation at the perimeter. Avoid direct timber contact with damp masonry.
Ventilation strategies
SIP shells are tight, so ventilation needs a plan from day one.
Comparison
Ventilation options
Pick the strategy that matches the shell and the client.
MVHR
- Best for airtight SIP shells
- Recovers heat while ventilating
- Needs planned duct routes
MEV
- Simpler install than MVHR
- Works with good background ventilation
- Less heat recovery
Passive vents
- Lowest cost option
- Harder to control in winter
- Not ideal for very airtight shells
Back venting and cladding
Rain and wind are constant in the UK. The cladding build-up must allow drainage and drying.
Comparison
Cladding strategies
Keep water out and let the wall dry.
Rainscreen cavity
- Best drying performance
- Keeps bulk water off the panel
- Ideal for timber and composite cladding
Direct fixed cladding
- Simpler and cheaper
- Higher moisture risk
- Needs careful detailing
Diagonal lath
- Improves ventilation paths
- Useful for complex elevations
- Slightly more labour
Where these principles come from
These guidelines align with UK standards and best practice: Approved Document C and L, BS 5250, and manufacturer detail packs.
Building science checklist
- Keep insulation continuous at junctions.
- Seal joints before finishes go on.
- Plan ventilation early in design.
- Protect openings with flashing and drainage.
- Confirm vapour control strategy for the build-up.